It brings me much joy to have my mudroom and powder room remodel completed! I have been working on this project for awhile now and here is an outline of the phases that took place along with some helpful tips, and of course before and after pictures!
Phase One - consisted of re-locating the washer/dryer from the powder room to first floor master bathroom, on the other end of the house (master bath remodel coming Fall 2018). The washer/dryer in the powder room took up the majority of the room creating a crowded and unwelcoming feeling and moving it to the master bathroom was a more practical move.
Before - Coat Closet and Hall to Garage, Powder Room on Right
Before - Coat Closet
Before - Pantry Closet and Coat Closet
Before - Powder Room, showing washer/dryer behind the door
Before - Washer/Dryer
Phase Two - demolition, demolition, demolition! Walls came down in order to really open up and create more space in the mudroom and powder room. The drywall was also removed from the ceilings and outside walls so that we could re-insulate this space for improved energy efficiency.
Demolition
Demolition
Phase Three was to have spray foam insulation installed by professionals to create a more stabilized climate.
Phase Four was having the drywall installed by our contractor.
Drywall
Drywall
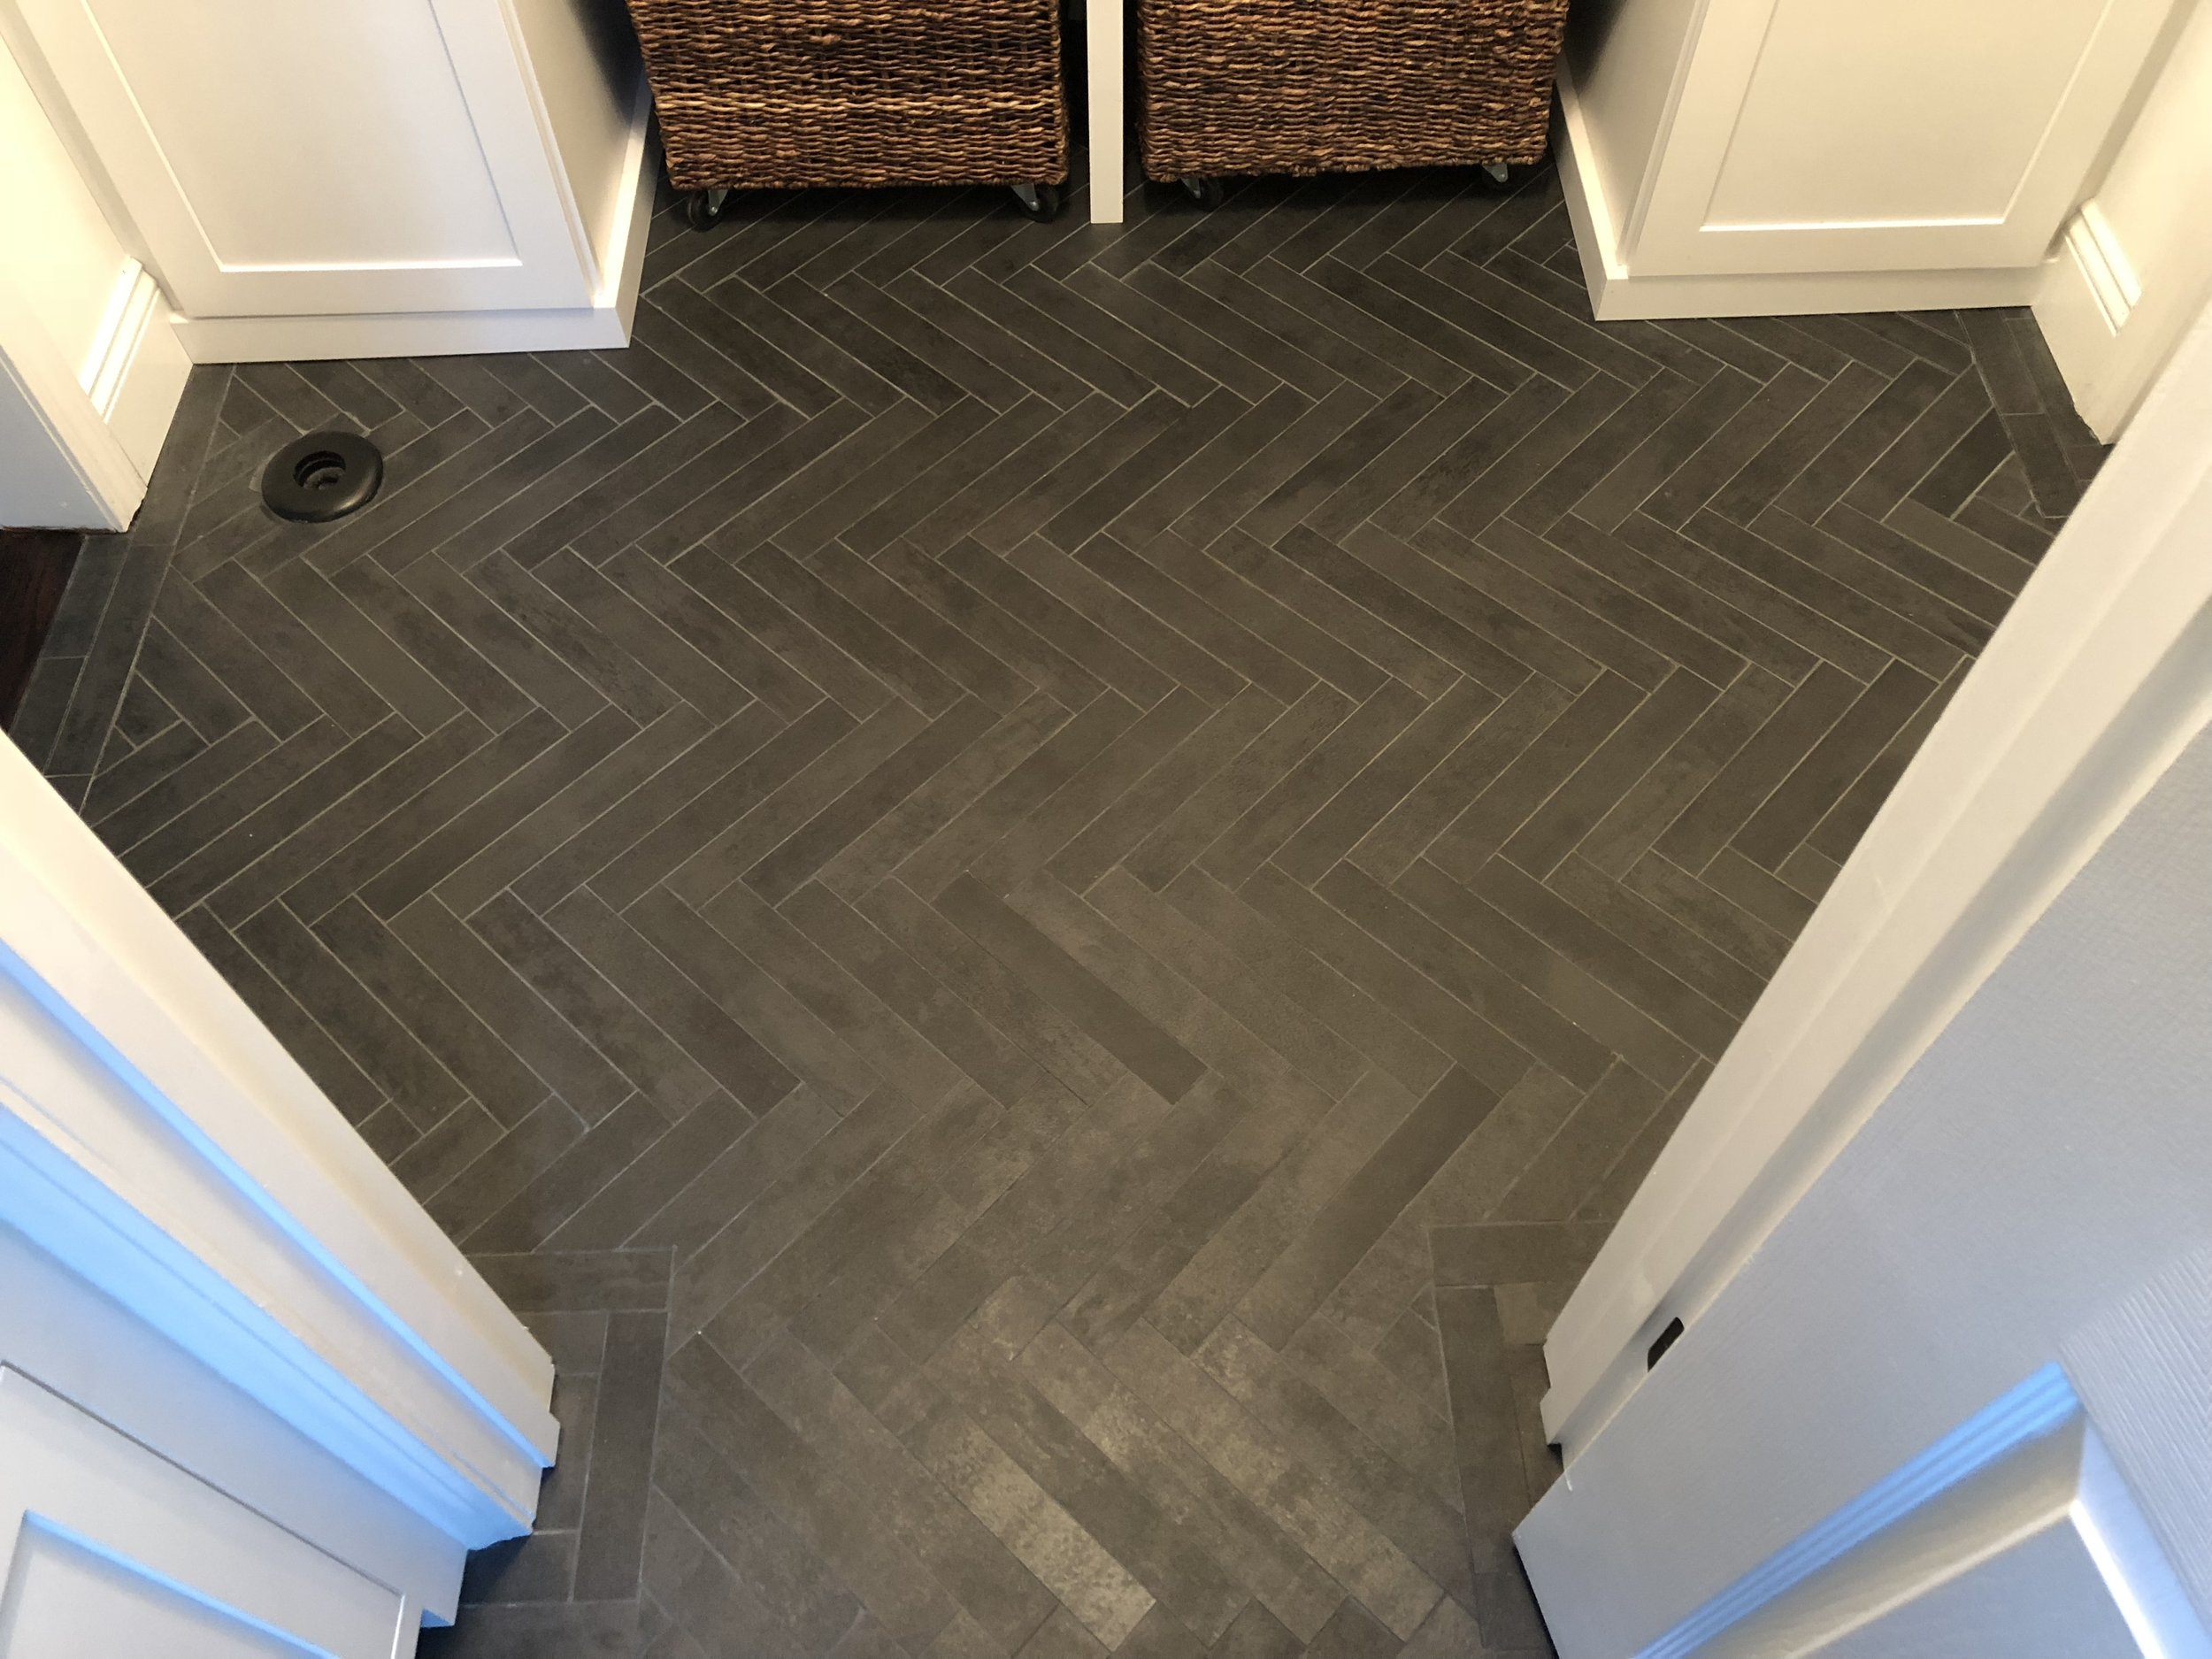
Phase Five was installing the new flooring. I chose tile for a couple of reasons:
- Tile is the most durable material (in my opinion) to use in a mudroom where it's going to have a lot of foot-traffic along with water, dirt, mud, etc. tracked in throughout the year
- Since the mudroom and powder room are essentially in the same space, I wanted the flooring to be the same which allows for a seamless flow room-to-room
- Since this space is next to the kitchen, which is bright white with the dark brown floors, I wanted a tile that would transition nicely from a visual standpoint, which meant it had to be dark so that it blended in. For example, if I picked a lighter tile (light gray, beige, white, etc.) off of the dark wood floor there would be a visual interruption of the spaces. The dark tile allowed for a continuous flow and makes the space feel bigger and undivided
- Tile has a timeless and simple look however there are so many designs and looks which still allows for you to pick out a tile that still has a unique and personal look which fits your design aesthetic. Tip: Tile also comes in different patterns i.e. herringbone (which is what I did) to allow for an additional and different design element
Tile Install
Tile Install
Tile Install
Tile Complete with Plastered Walls, Paint and Baseboard
Tile Complete with Plastered Walls, Paint and Baseboard
Tile Complete with Plastered Walls, Paint and Baseboard
The final phase was adding white cabinetry and a bench that coordinates with the adjacent kitchen. This replaced the coat closet and pantry closet that we took out during demolition and allowed for much needed storage for household items and a coat rack. Below are pictures of the final look.
As always, please ask any questions and/or comment below!
After Mudroom Renovation - Pelham, NH
After Mudroom Renovation - Pelham, NH
After Mudroom Renovation - Pelham, NH
After Mudroom Renovation - Pelham, NH
After Mudroom Renovation - Pelham, NH
After Mudroom Renovation - Pelham, NH
After Mudroom Renovation - Pelham, NH


