

I envisioned this dream bathroom of mine from the very moment I walked into the house with our realtor. The unique combination of the bathroom's large footprint and its outdated design sparked my imagination, making it easy for me to visualize the incredible potential hidden within its walls. The possibilities seemed endless, and the prospect of transforming this space into my dream sanctuary fueled my passion for the entire home renovation project.
Below are the phases of my design as well as before and after pictures…enjoy!
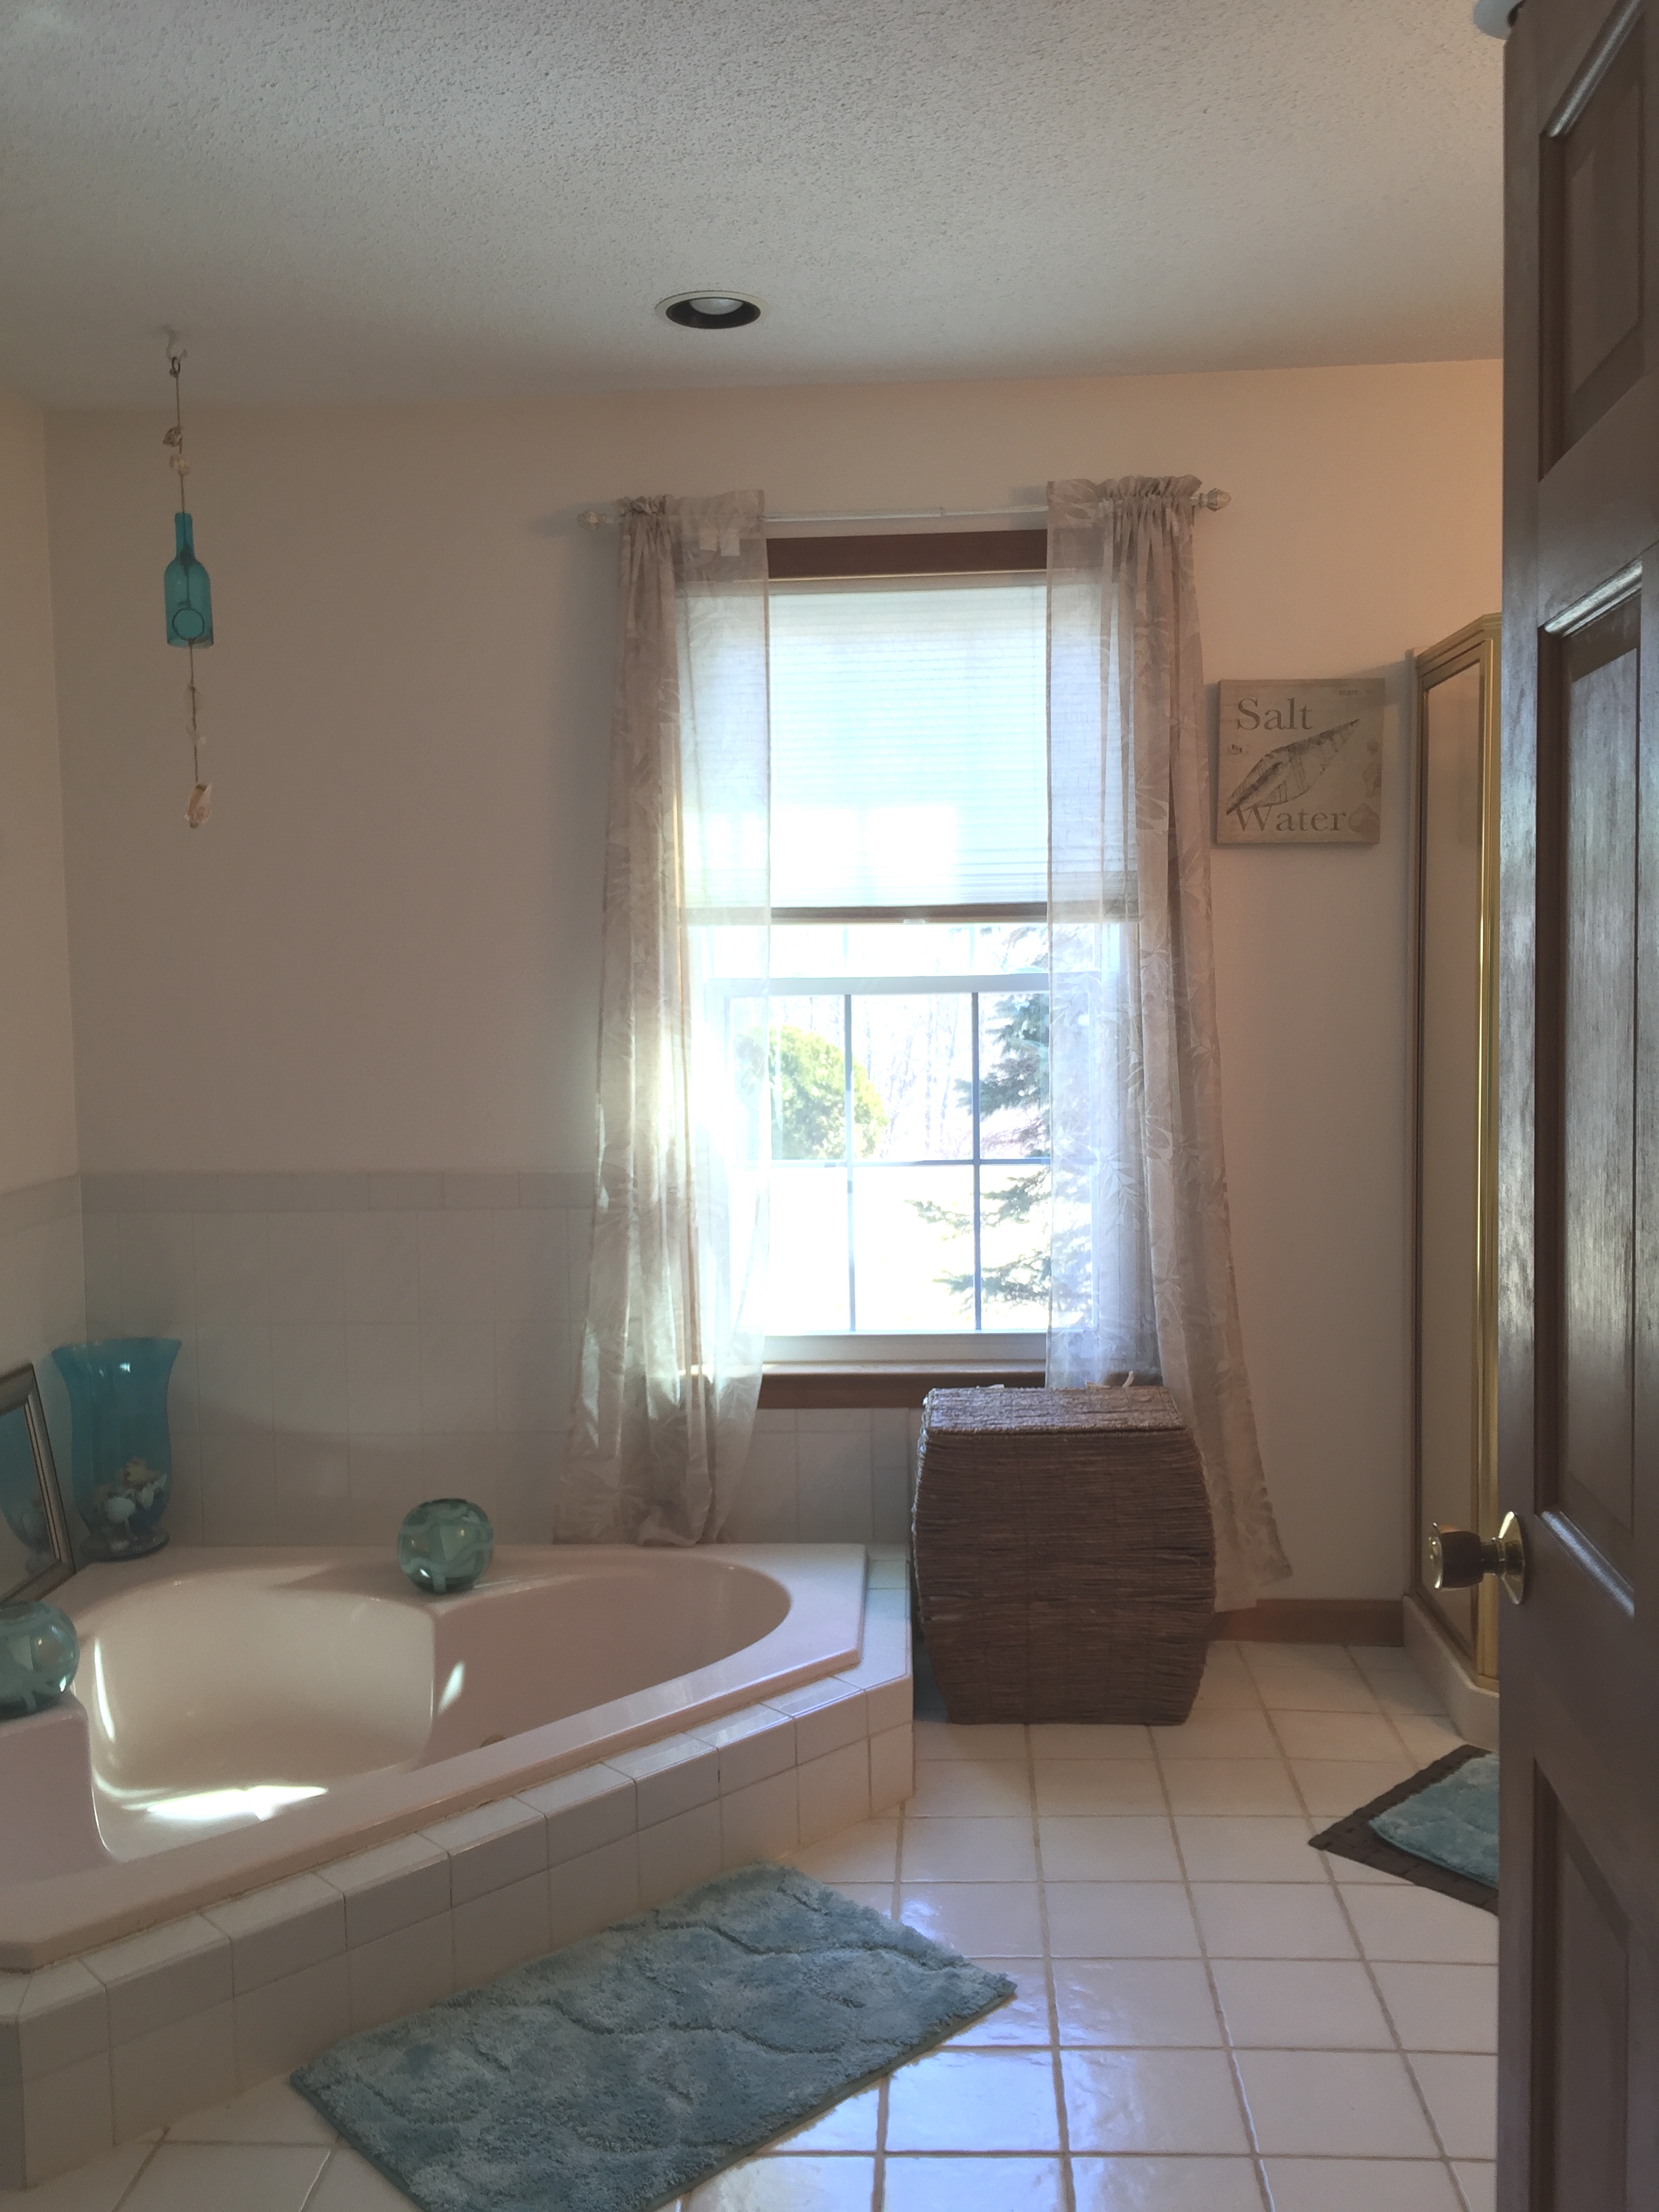
Previous Owner - Before

Previous Owner - Before

Previous Owner - Before
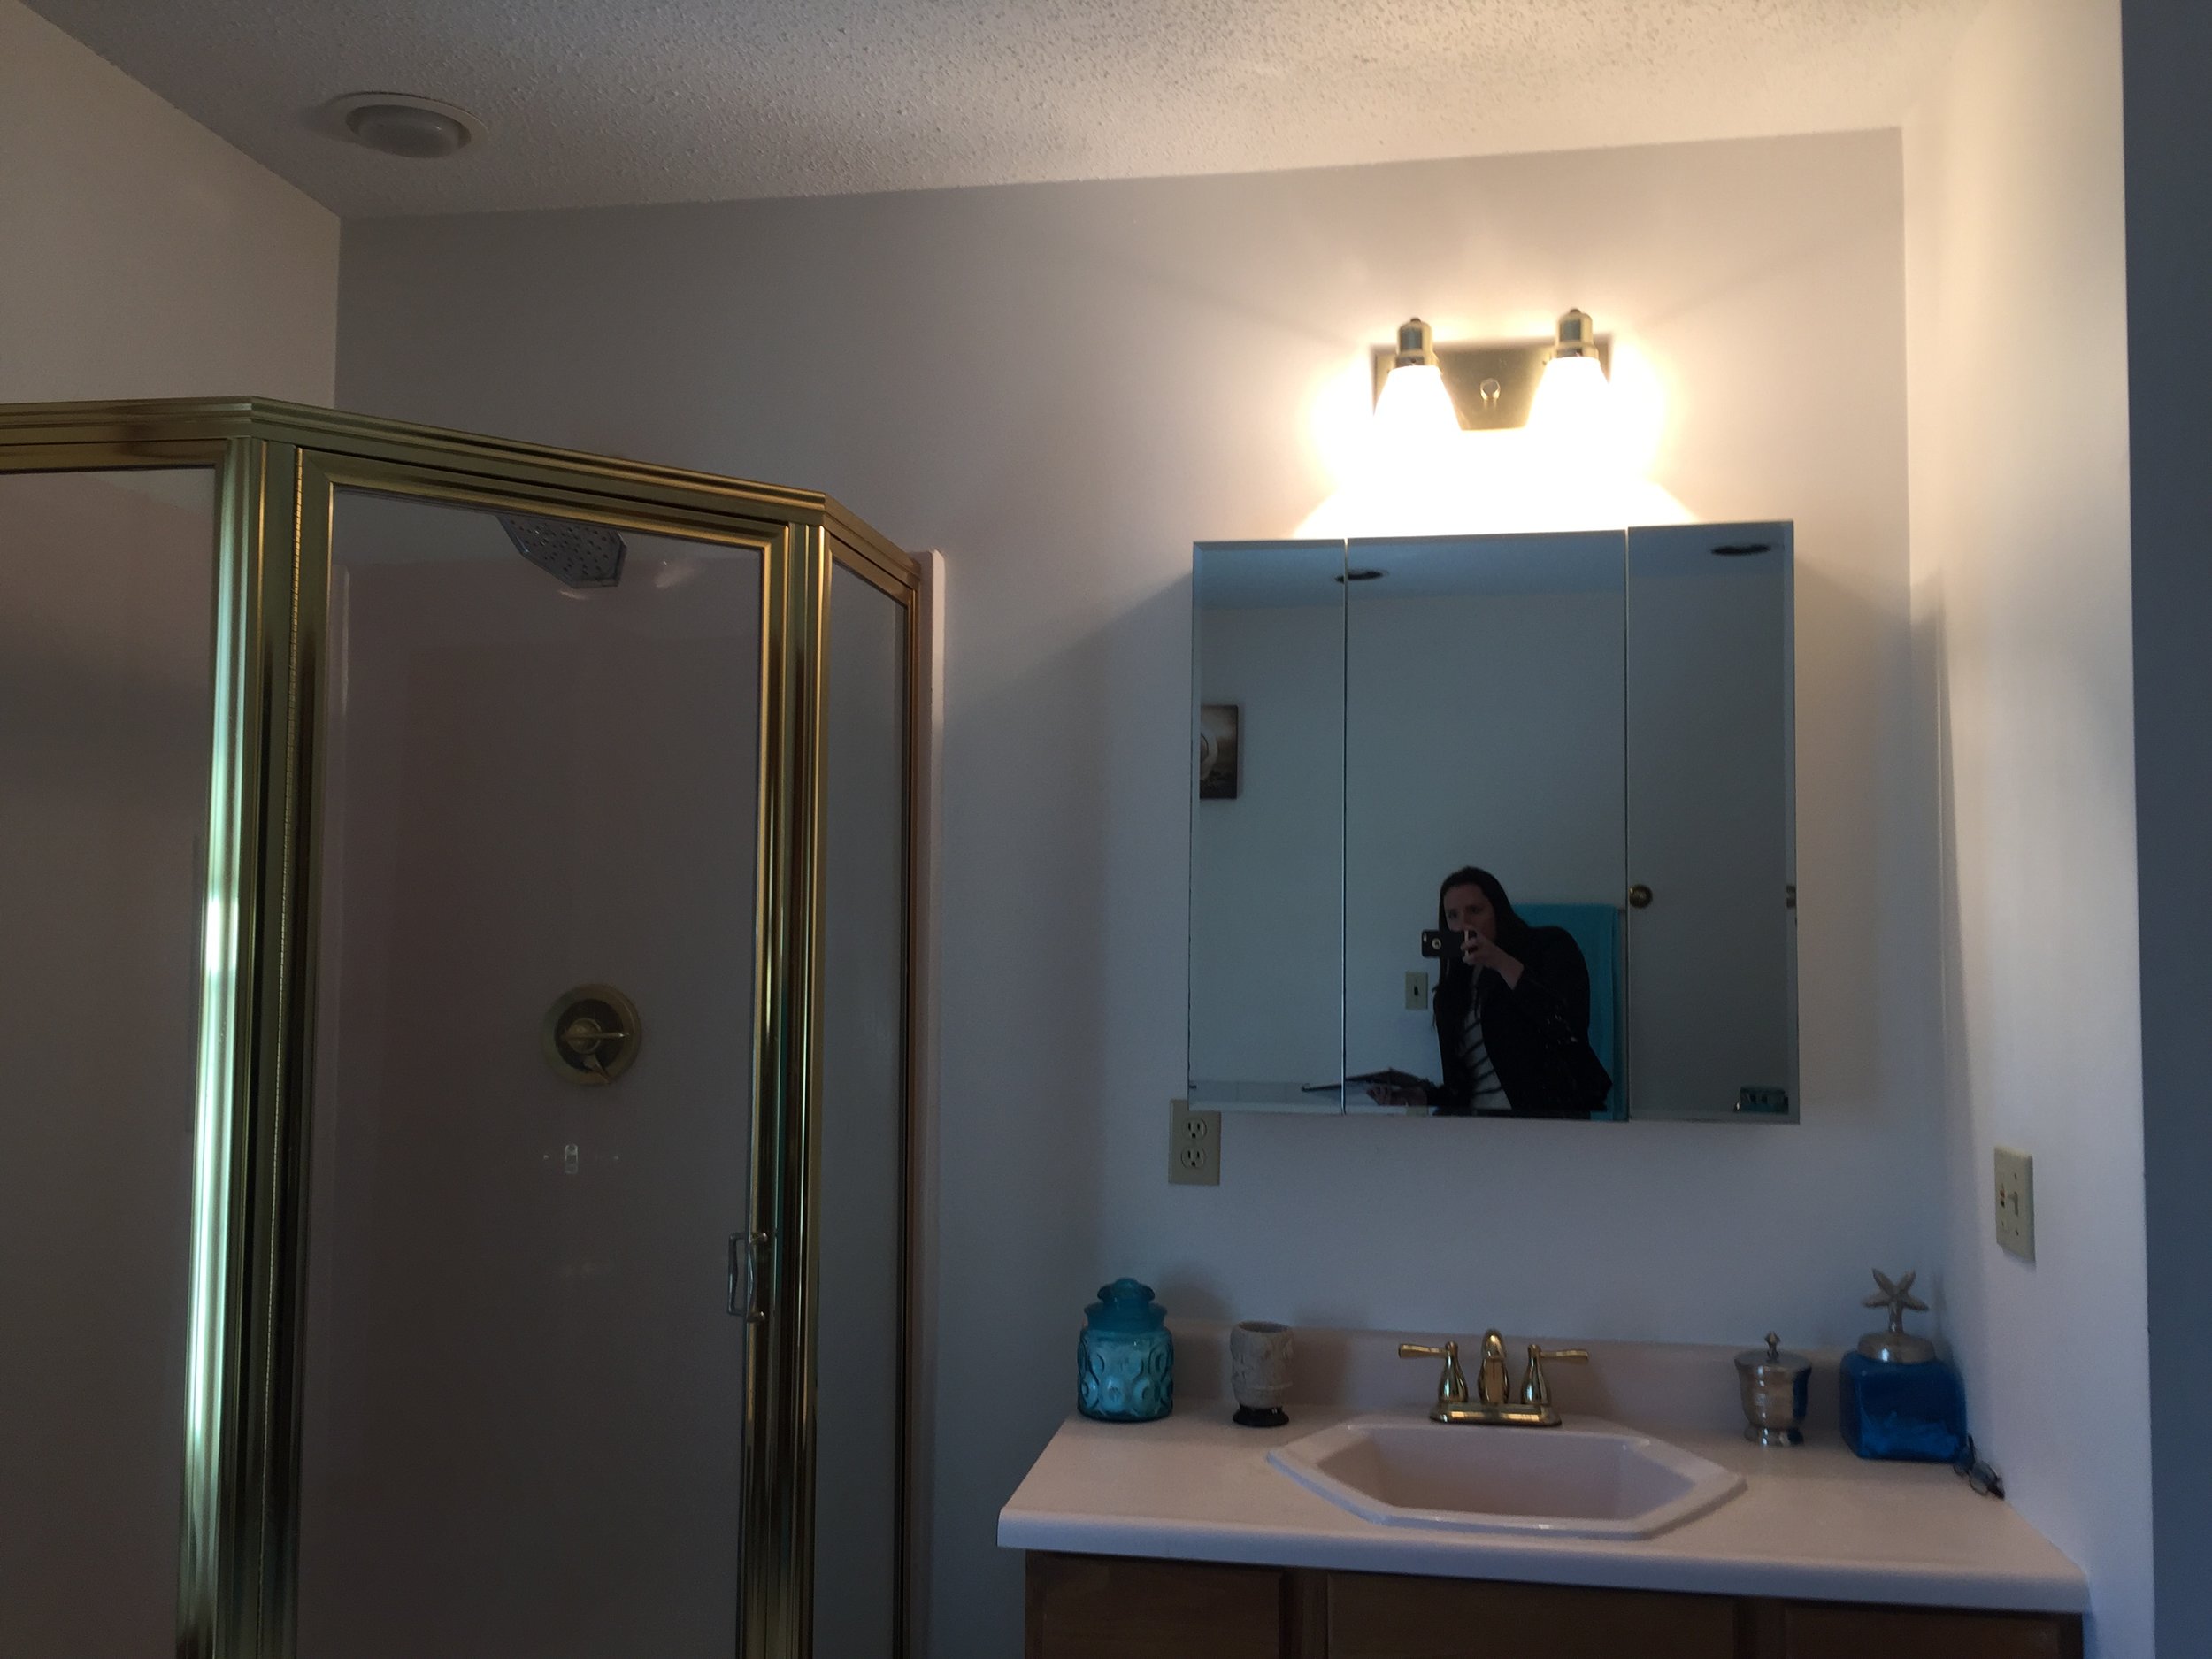
Previous Owner - Before
Phase 1: Relocating the Washer/Dryer
When we moved in, the washer/dryer was located in our powder room off the kitchen. This location was not practical since it required walking through the dining room and kitchen in order to get to it, and it was located in a tight space where the door had to be completely shut in order to open the washer/dryer doors.
Because of these main factors, I daydreamed of having the washer/dryer in my master bathroom and once I measured to see if a side-by-side washer/dryer would fit, my daydream became the start of the master bathroom design and floorplan.

Removal of the Bathtub

Plywood Subflooring Installed with new floor joists below

Installing Plumbing for Washer/Dryer
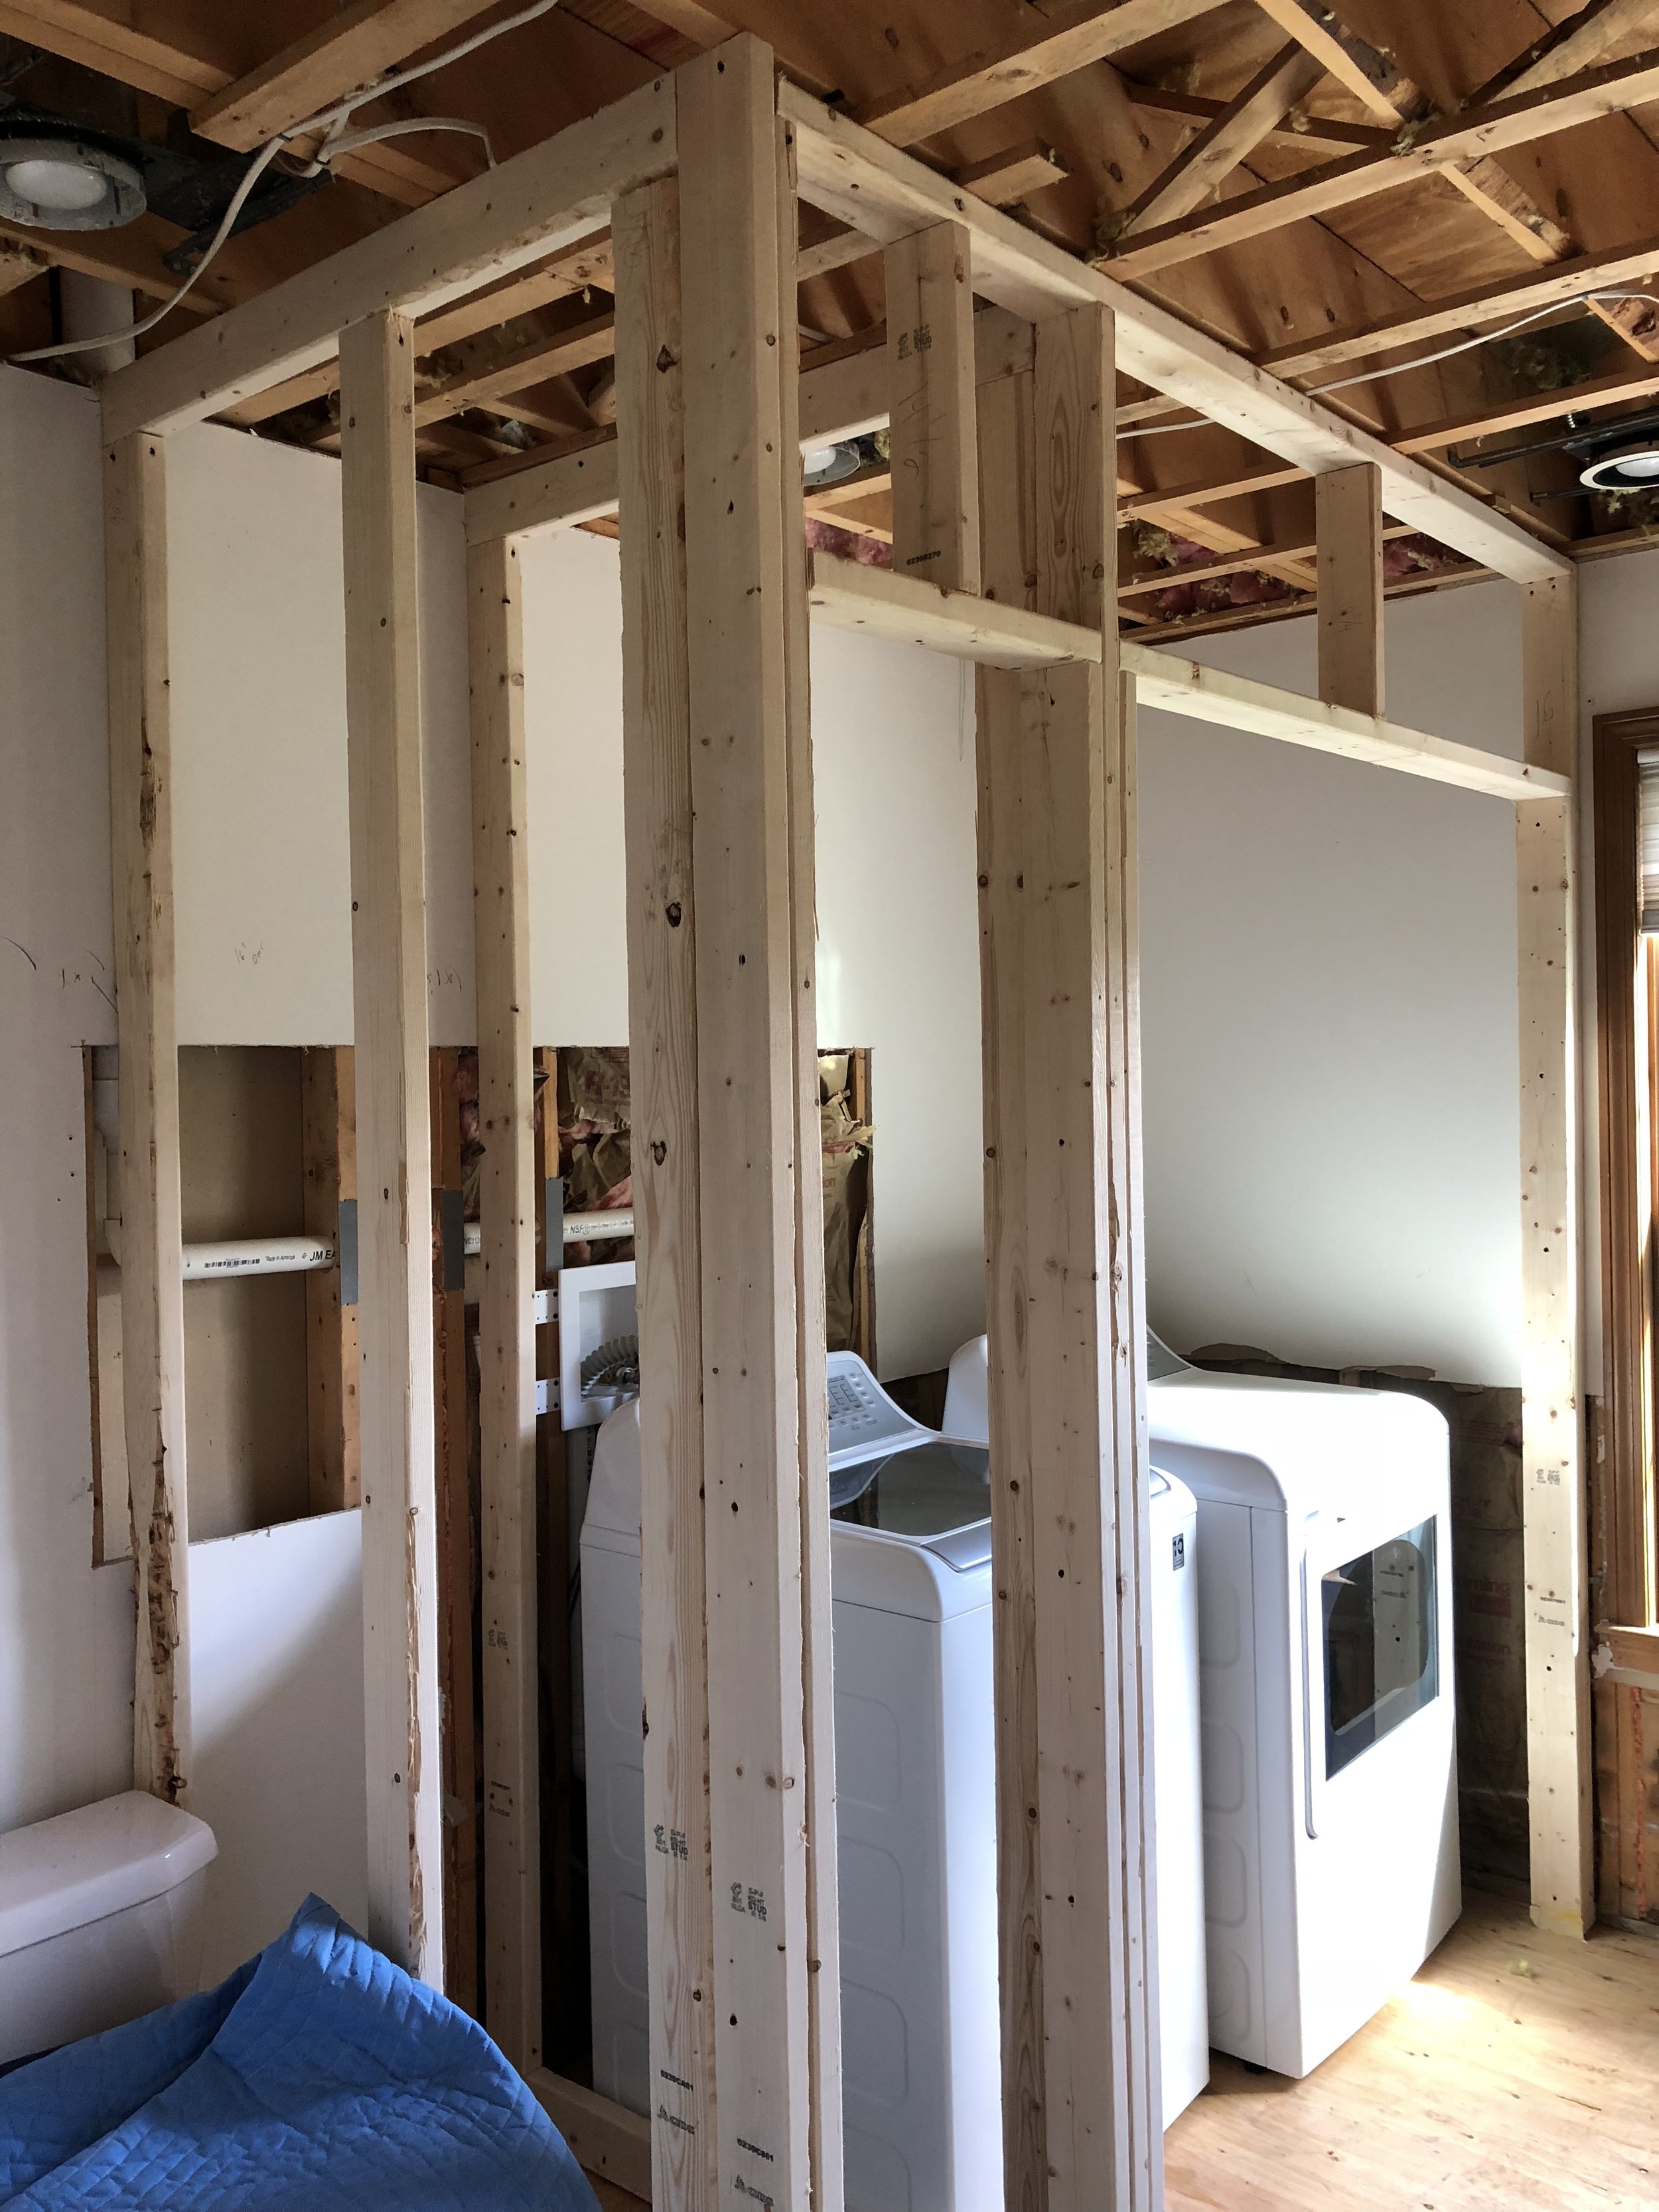
New Framing for Washer/Dryer closet

Insulation and Lighting Installed
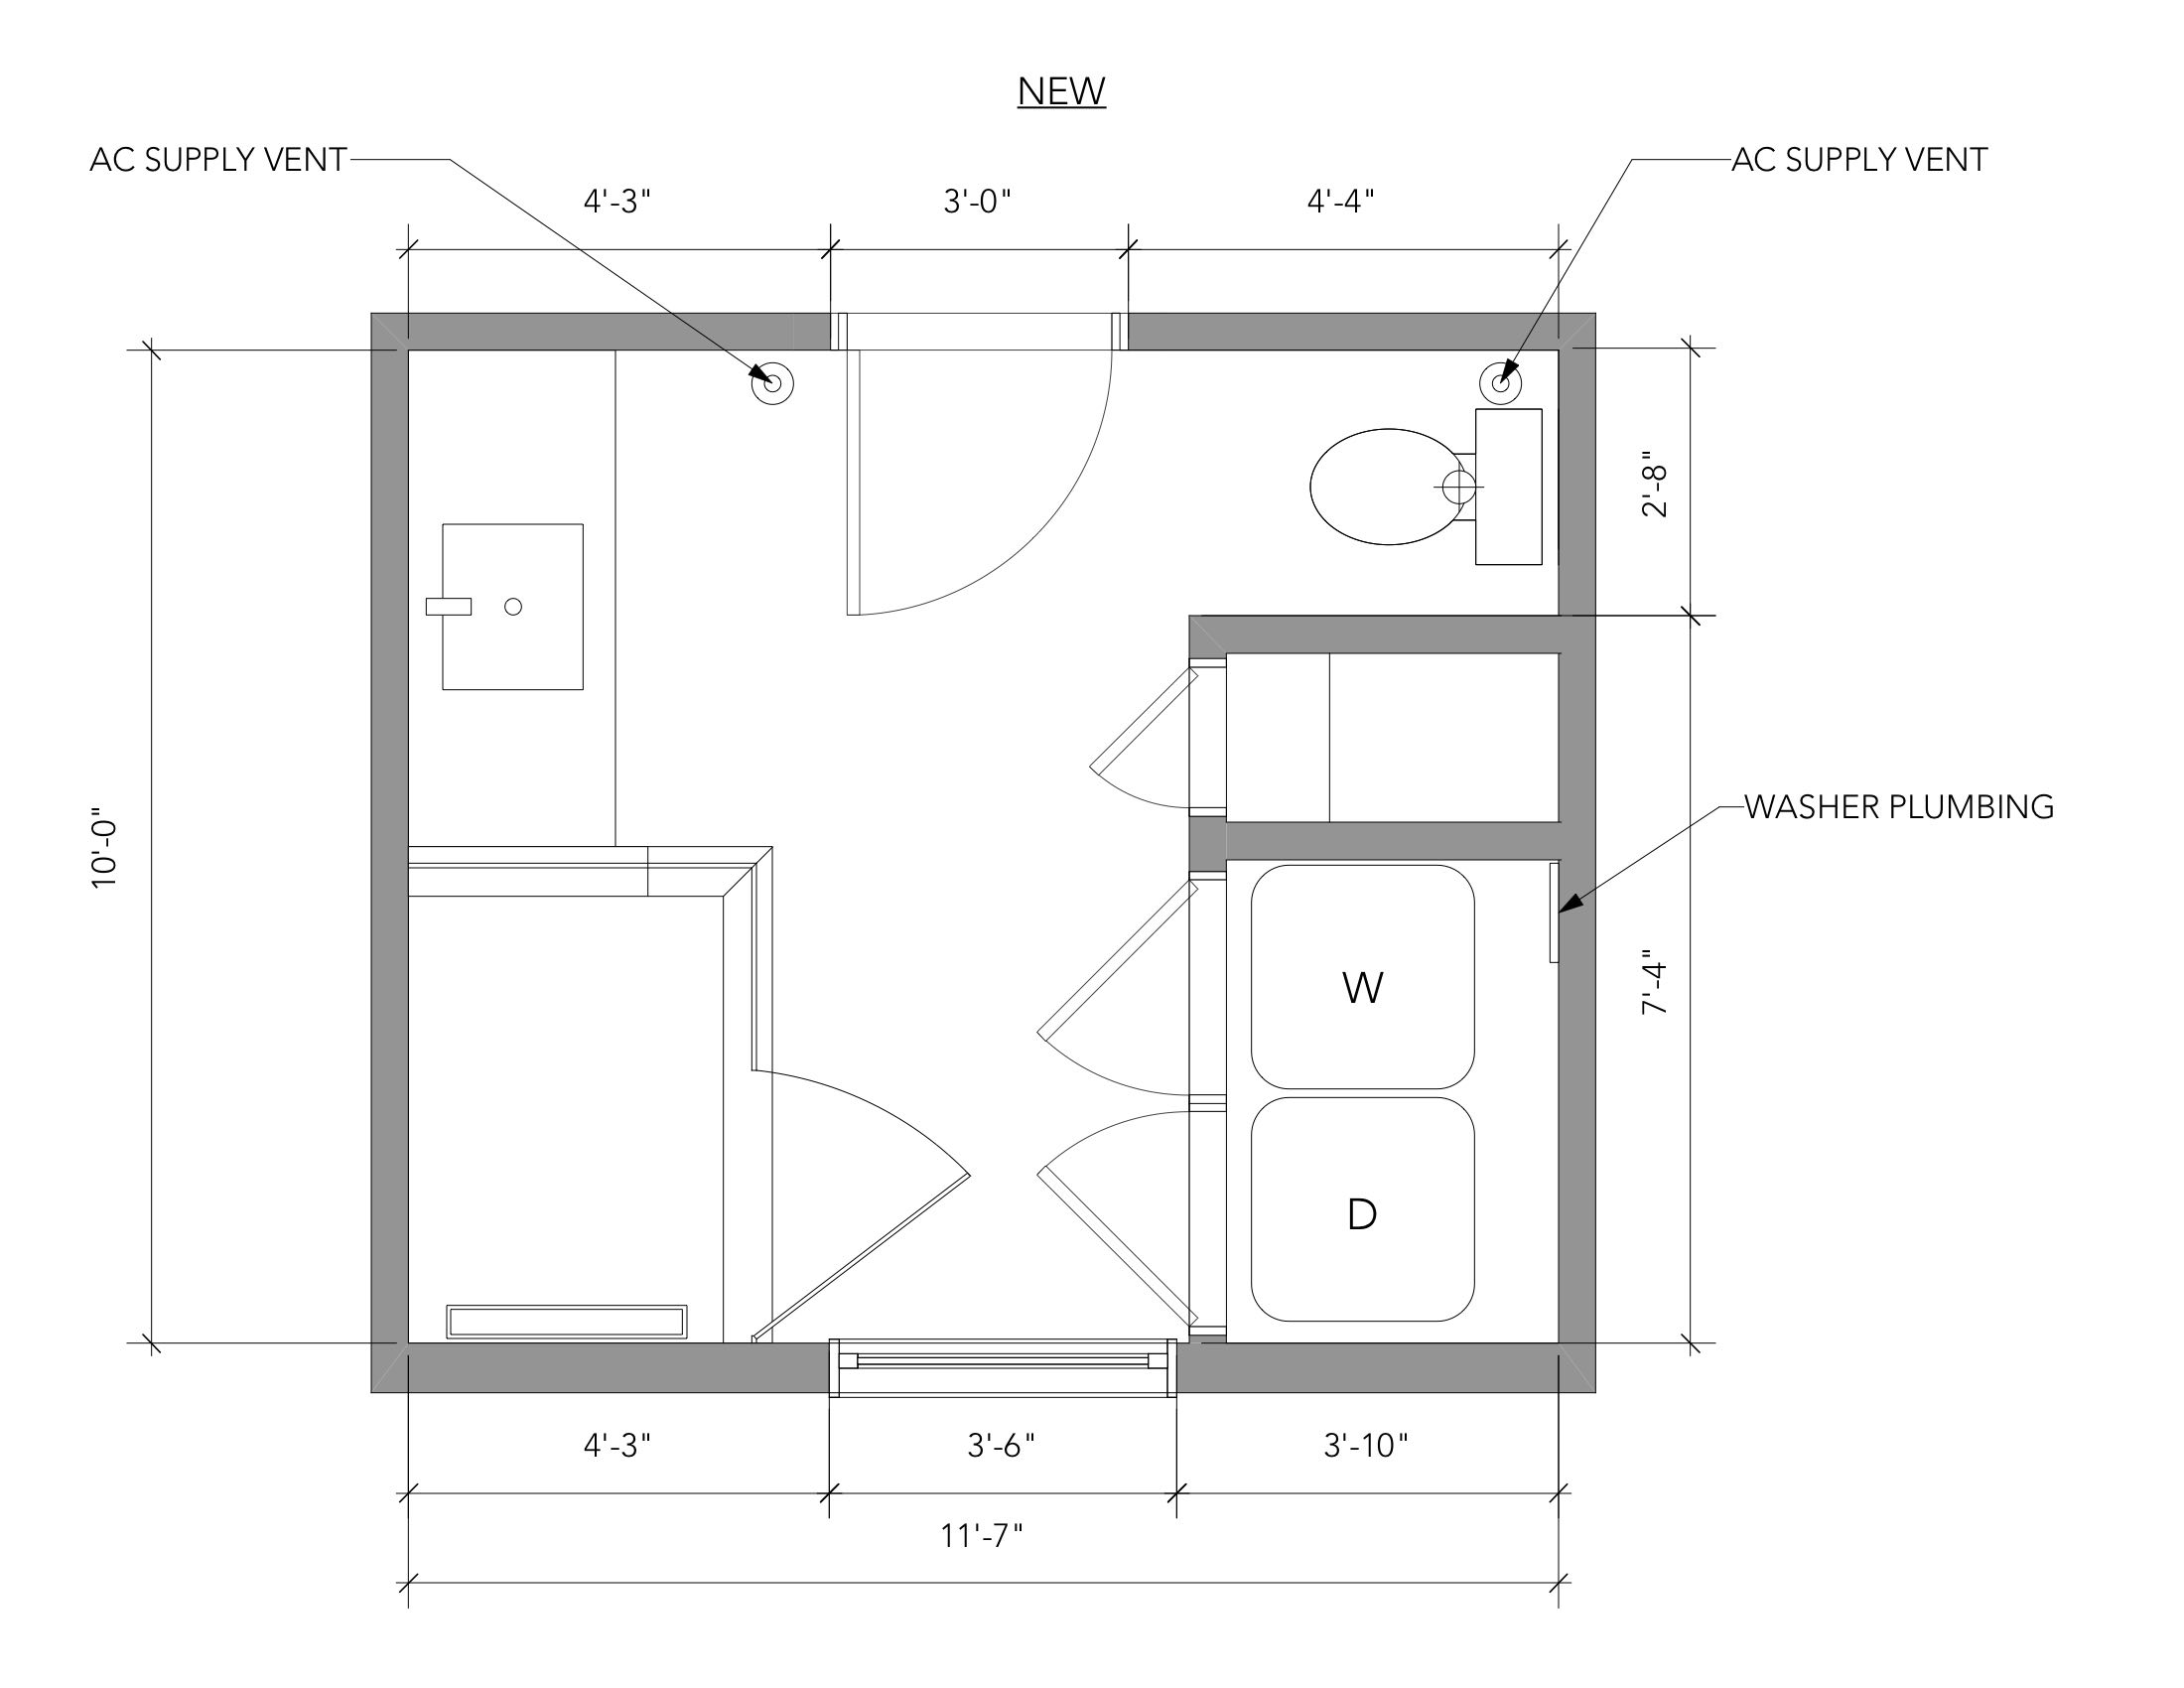
Phase 2: The Layout
Another main priority for my master bathroom was to have plenty of storage. To incorporate this, we took out the existing 20” closet that was in the corner and then added a small storage closet to the left of the (future) washer/dryer closet wall, so that it’s using the space most efficiently. By eliminating the old closet, this would allow for a larger vanity base, and by shifting the vanity in this corner and coming off 60” from the wall, the remaining balance gave me the new size for the shower.
Luckily, I was able to design the layout based the window being positioned in a place where it worked with all of the new additions. If the window was placed 1-2" more to the left, this vision would have been very difficult to implement due to minimum size requirements.
We left our toilet in the same location because it simply worked there, while also being blocked off by the closet wall, creating it’s own privacy area. We only had to move the toilet 6” towards the left wall so that it was centered between the walls and allowed for more room. Luckily this wasn’t a huge deal since our bedroom is on the 1st floor, and they could easily move the plumbing with our exposed basement ceiling underneath.
Phase 3: Adding some heat
Who wouldn't want to walk on 75-80 degree tile in the colder months? My dream master bathroom always included a heated floor. To do this, an electric radiant heated floor under the tile needed to be installed since there wasn’t a heat source in the room. There was a very old toe kick heating vent in the original vanity, which was super loud and inefficient, so it had to be replaced.


Phase 4: Tile | Stone | Storage
For the tile design, I personally prefer a cohesive tile look, for a simple and modern look. Even in the shower niche, I wanted consistency, so I made the niche the same size as a 12x24 tile to have this seamless look. The shower floor is where I wanted to add some boldness and pattern, so I did so with a mosaic accent. The modern basketweave marble mosaic I used was one that I had discovered a while ago, and knew it would be one day be used in my own master bathroom.

Selected Finishes

Tile Prep with Durock Cement Board


For the countertops, I chose the whitest of white quartz I could find! Quartz is antimicrobial (non-porous and does not absorb bacteria), so it’s perfect for bathrooms to give you some piece-of-mind when you’re cleaning them. It also has a minimal look, which is what I was going for.

The semi-recessed medicine cabinet is my favorite thing in the bathroom! Not only is it a beautiful item, it is also very practical, so it was love at first sight. I am a fan of having many beauty products, so I needed something to hold and organize them all. What I also love about this, is the front lifts up vs. having a door swing towards you, and there are outlets in side for a shaver or electronic toothbrush, so that there aren’t cords and items crowding up your counterspace. It also has a defogger and nightlight for additional features. If you’re limited on storage or need a lot of organization, this is the cabinet for you and it also comes in smaller sizes.


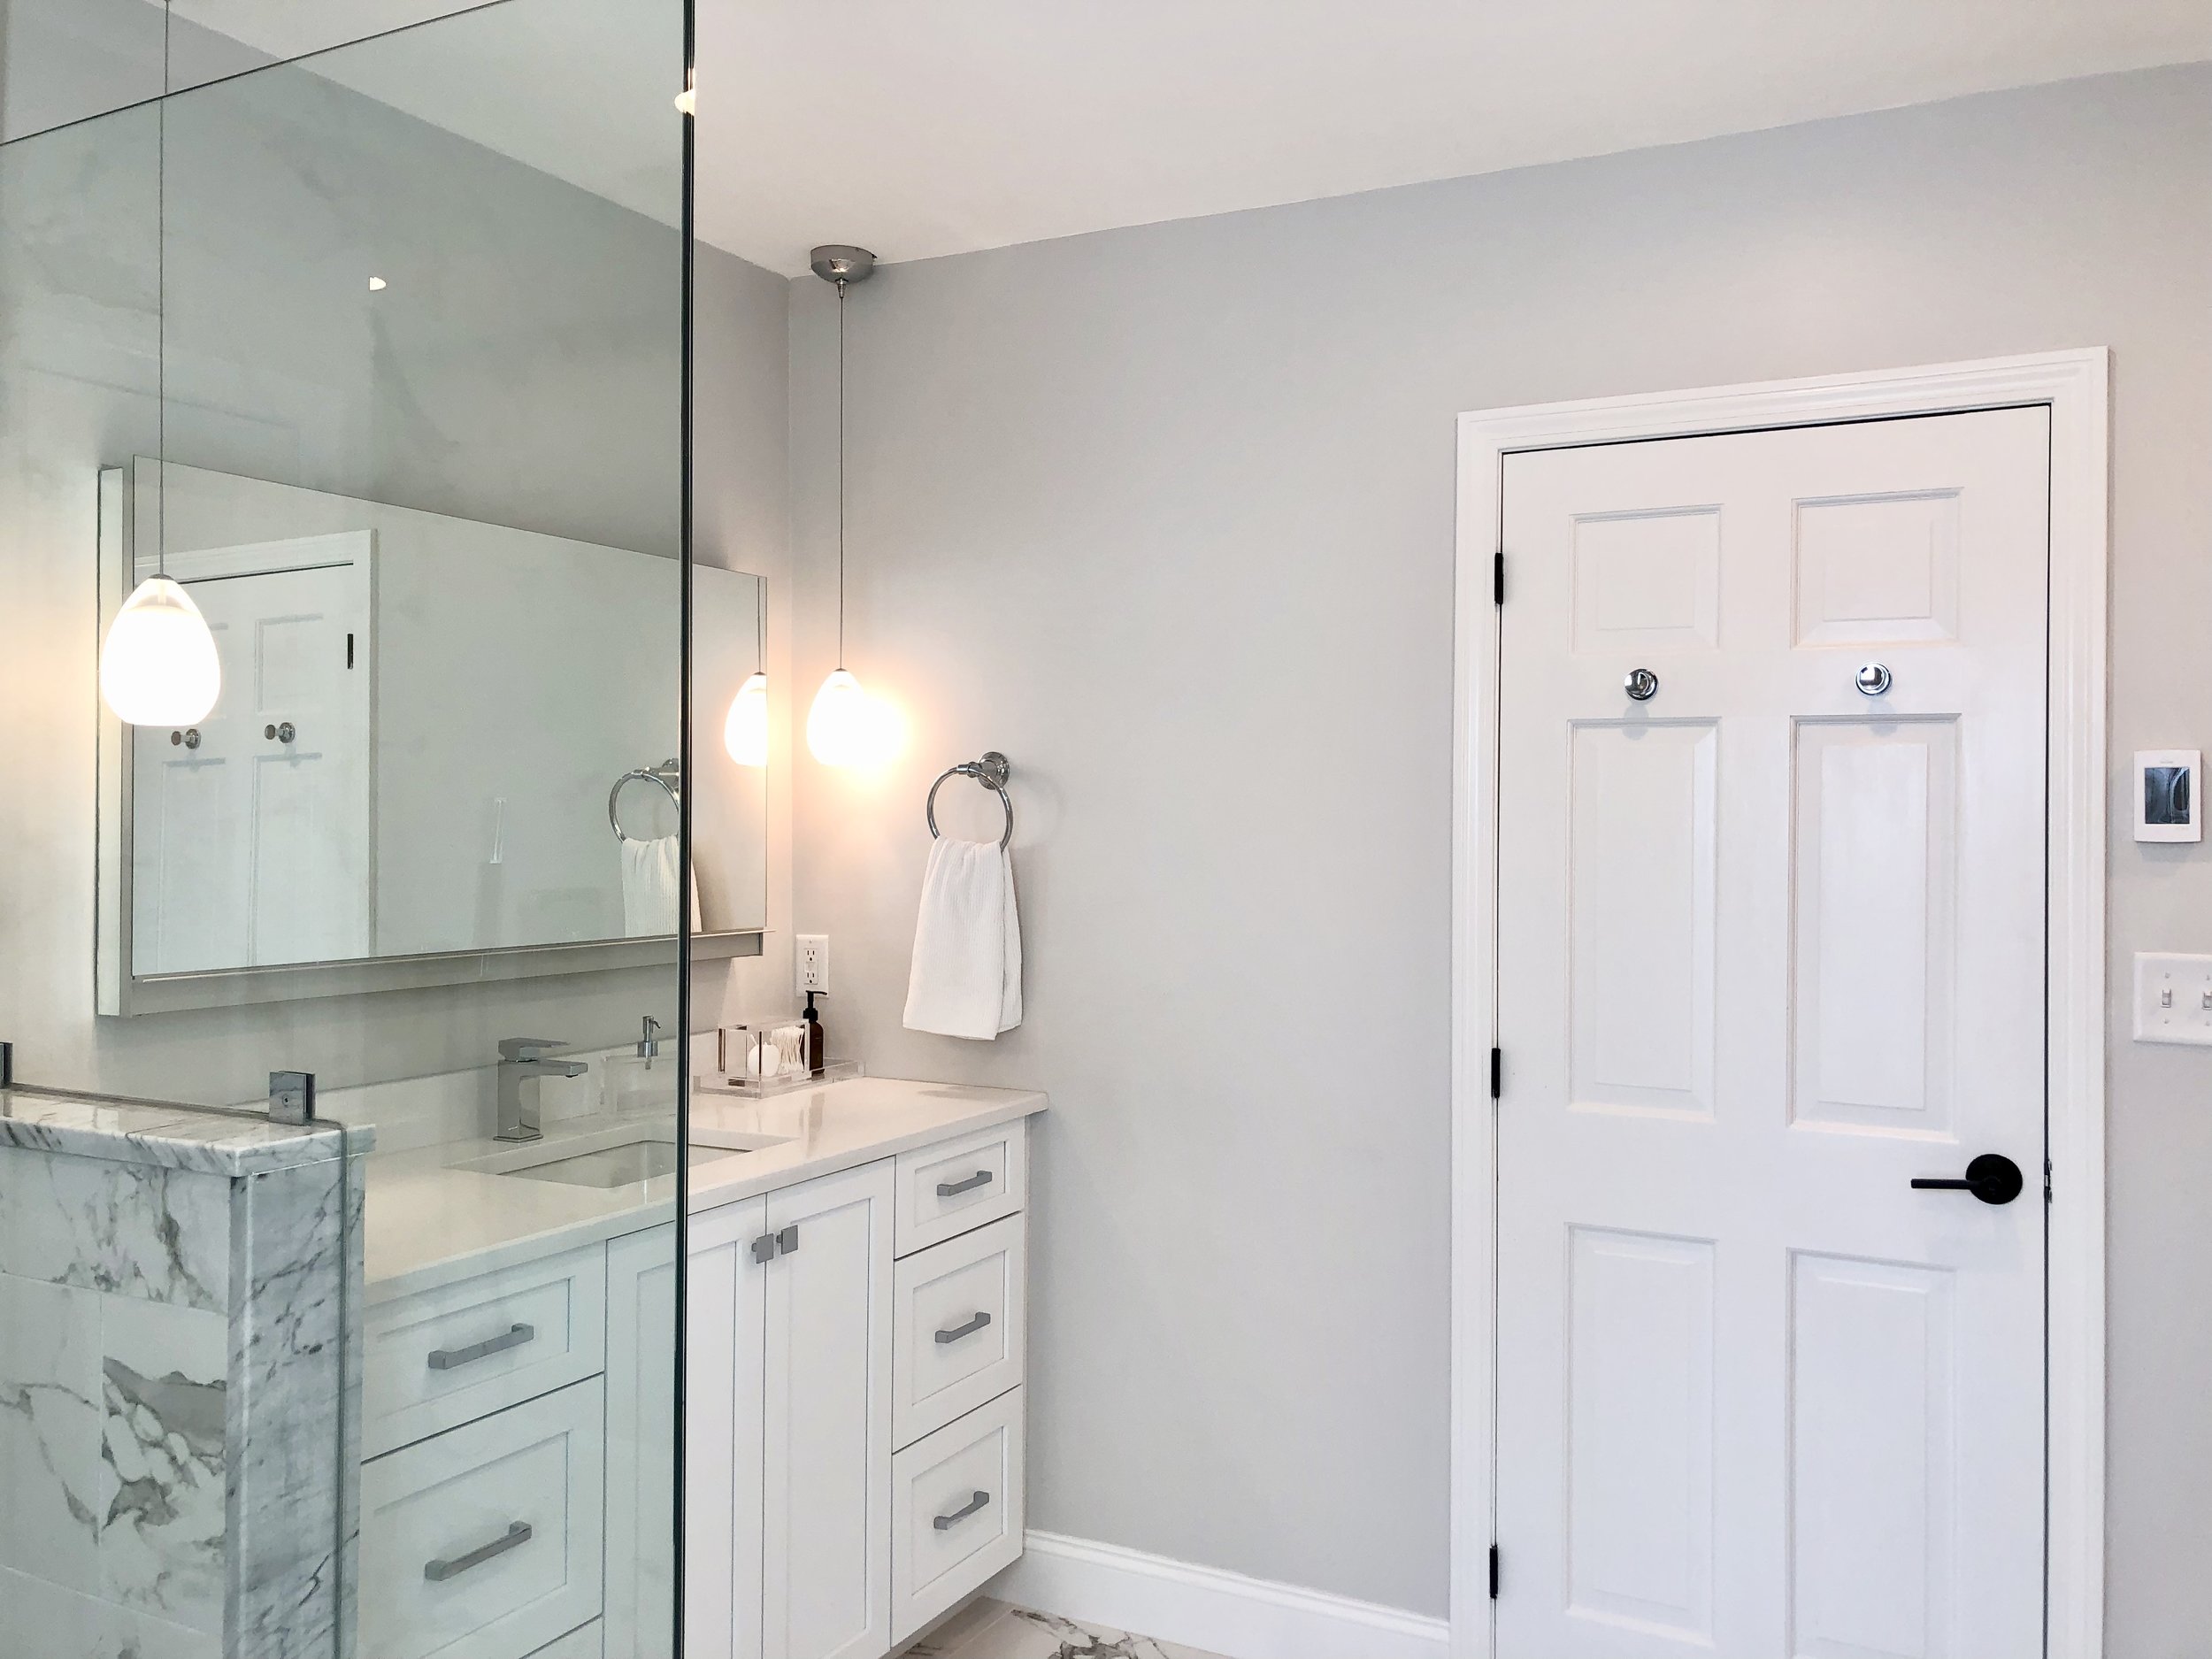
Phase 5: Adding some flare
I wanted to do something different and add another special feature to this bathroom, so I decided to have pendants installed from the ceiling and to hang in front of the mirror so that the light casts evenly over your face. These pendants are on their own switch, so that they also act as a relaxing accent light at night.
TIP: For bathroom lighting, the most flattering source of light is from the side, not from above. Lighting above creates unflattering shadows and uneven light across your face.
So knowing that I was going to do side lighting of some sort, I had to think this through since with my medicine cabinet (being recessed off the wall), a simple mounted sconce wouldn’t work because the side profile of the mirror would hide all of the light.

Phase 6: Accessorize!
One thing that surprises (in a good way!) most of my clients, is that I like to add artwork and accessories to a bathroom. By incorporating these design elements, you can add a pop of color, a little boldness and expression, and more! For my bathroom, I added a long and narrow art piece over the toilet to add a little drama to this lackluster part of a bathroom. I work with an art company where I customize the height and crop the width to any size, while adding a frame or changing the media it’s printed on. I chose a plexiglass so that I didn’t have to worry about moisture affecting the art. This art piece has a silver metallic finish under the plexiglass, which compliments the chrome accents throughout the bathroom.


All of the bathroom plumbing fixtures are Kohler:
Toilet - Kohler K-6999-0, Memoirs Classic Comfort Height Two-piece
Toilet Seat - Kohler K-4008-0, Grip Tight Reveal™ Q3™, Eb Seat
Sink Faucet - Kohler K-99760-4-CP, Honesty™ Single Control
Sink - Kohler K-2882-0, Verticyl® Rectangle Under-mount
Handshower Holder - Kohler K-14791-CP, Loure® Wall-mount
Handshower Spray - Kohler K-14788-GR-CP, Shift™ Square Multifunction 2.5 Gpm Handshower With Grey
Shower Hose - Kohler K-9514-CP Mastershower® 60" Metal Shower Hose
Shower Arm - Kohler K-7394-CP Shower Arm
Rain Showerhead - Kohler K-13696-CP Contemporary Square Rain Showerhead
Valve Trim with Diverter - K-T98757-4A-CP Rite-Temp® pressure-balancing valve trim with diverter and plain lever handle
Towel Ring - Kohler K-11057-CP Archer® Towel Ring
Robe Towel Hook - Kohler K-14443-CP, Purist® Robe Hook
Toilet Tissue Paper Holder - Kohler K-14377-CP, Purist® Toilet Paper Holder
Medicine Cabinet - Robern Uplift UC4827FPL 48" x 27" x 6"
Drain Grate - Schluter Kerdi-Line Brushed Stainless Steel 28 in. Metal Closed Drain Grate Assembly
Drain Flange - Schluter Kerdi-Line 28 in. Stainless Steel Bonding Flange
Door Hardware -Schlage Latitude Lever with Addison Trim Hall and Closet Lock